So You Want to Build an ADU? So Do I!
My Personal Journey Through the Process
For the past 21 years, we have owned a rental property in San Luis Obispo, California. It's been home to many students, primarily from Cal Poly, and has always been in high demand given its proximity to the university. Over the years, as student housing has become more difficult to find, especially affordable housing that students prefer, we’ve been exploring ways to add value to the property and help with the housing crisis.
With the new California laws making Accessory Dwelling Units (ADUs) easier to build—besides the cost, of course—we decided to move forward and add an ADU to our rental property. These new laws are a game changer; cities no longer have the option to deny an ADU as long as you follow all the guidelines. That means the roadblocks are mostly logistical and financial, but you have the assurance that if you meet the criteria, the city has to approve it.
So, we’re adding an ADU to accommodate four additional students, expanding our rental home’s capacity. It feels like the perfect time, as student housing has become a huge challenge, and students often prefer living in homes versus dorms or apartments. Plus, we’re just 10 minutes from Cal Poly, making our property a prime location. We’ve had a waiting list to rent from us over the years, and currently, our son Jack and his friends are living there, so it’s an ideal time to make these changes.
Working with Our Tenants
Because we have tenants in the house right now, we made sure to involve them in the decision-making process. We asked them what timeline worked best for them. Would they prefer we start in the summer or finish the build in time for them to enjoy the new space with friends during their senior year? They chose the latter, and as a result, we’re moving ahead now.
We’re also decreasing their rent by 50% during the construction period to ease the burden on them, and we’re covering a portion of their utilities—heating, water, and electricity. Their reduced rent starts on October 1st, and our contractor is set to begin work.
The First Steps: Architect and City Approval
The first step in building the ADU was finding the right architect—one with experience navigating the City of San Luis Obispo’s approval process. Time was of the essence, so I wanted someone who could get the ball rolling quickly and had a proven track record of getting ADUs approved. Through a recommendation, we found an architect who’s been fantastic. His familiarity with the city’s requirements has been invaluable.
In this case, time was more important than money for me, so we paid our architect to handle the city meetings, paperwork, and anything else needed to get things approved as quickly as possible. And as of this week, everything is finalized! We did hit a small snag with an oak tree that had to be removed, but other than that, it was a smooth process.
Additional Costs: Survey and Soils Report
Along the way, we also needed a survey of the property, which hadn’t been done in years, and a soils report. The soils report isn’t always required, but it was something our architect suggested we invest in. It was an additional cost, but he believed it would help us avoid potential problems down the road, especially with the foundation work.
Preparing for Construction
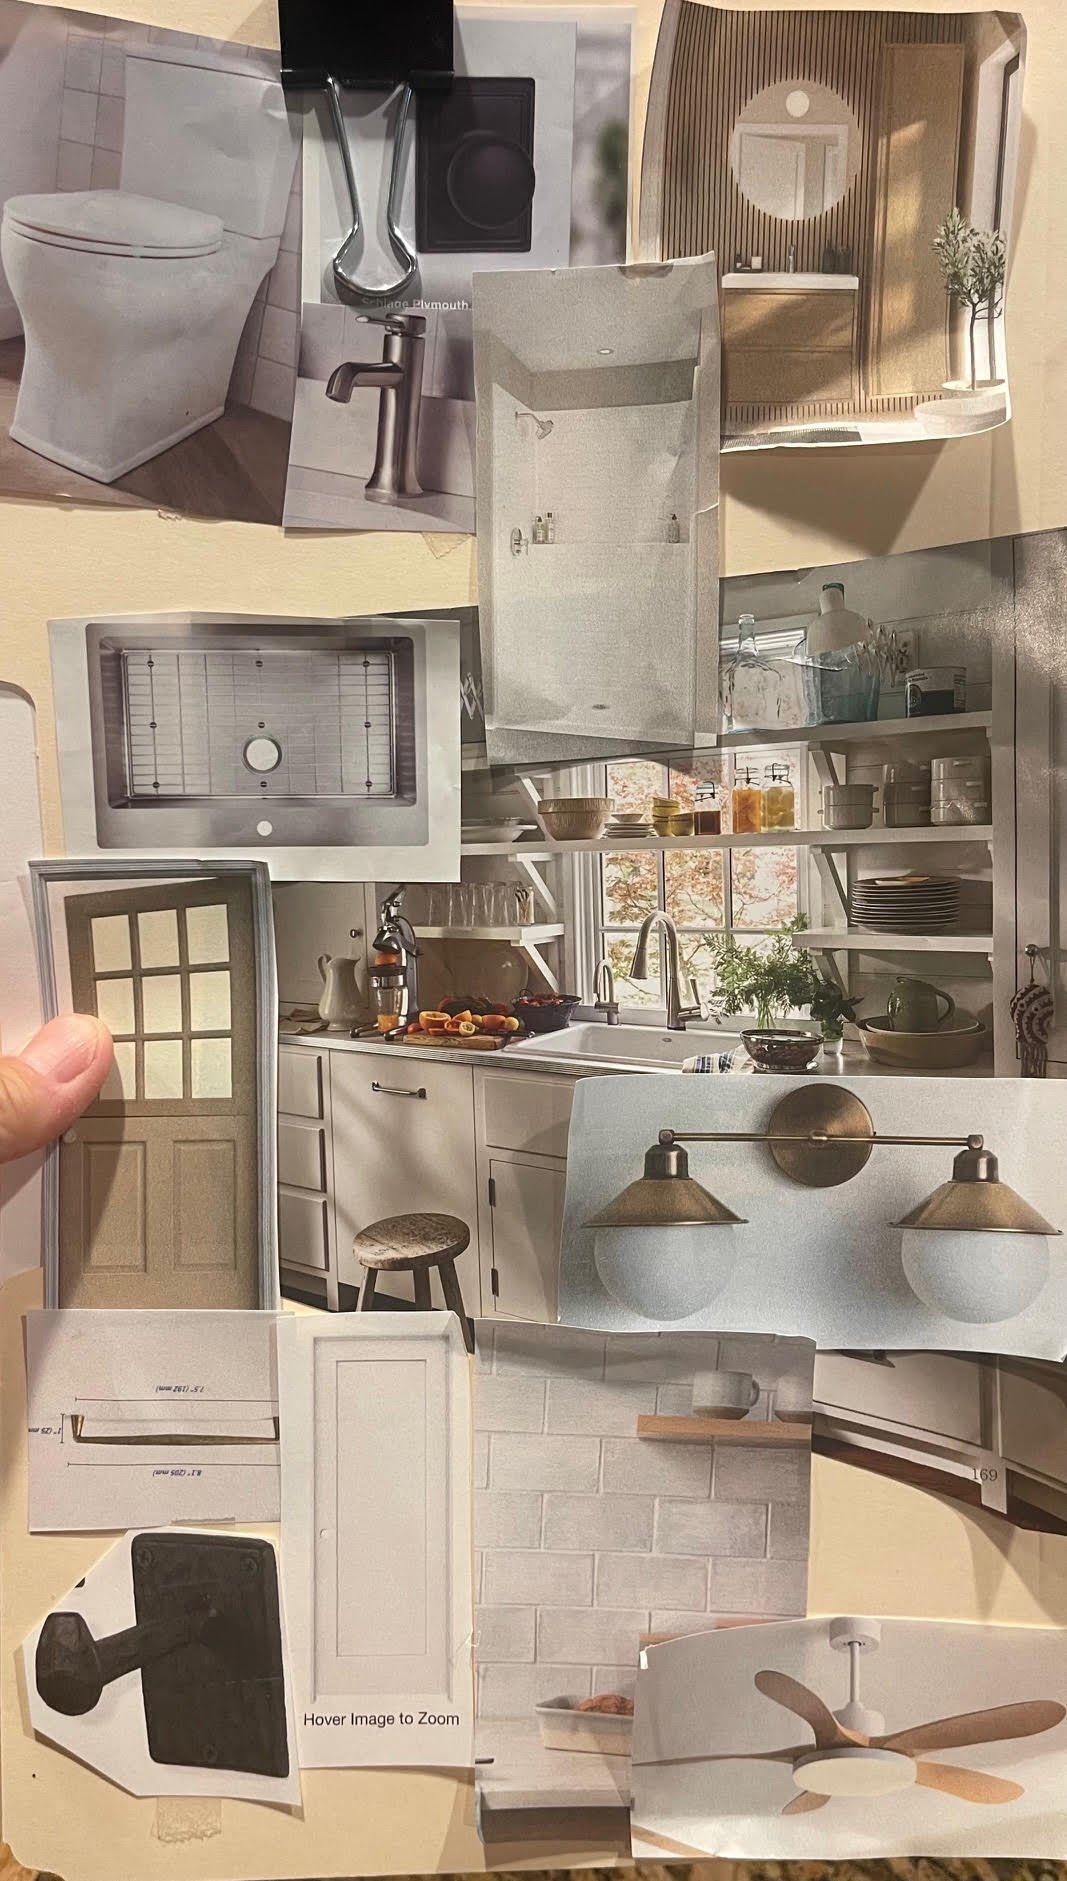
Now that the approval process is complete, we’re ready to break ground on Monday. I’ve created a vision board to help me manage the project, focusing on what I can control. For example, while I can’t control the cost of increasing our water line from ½ inch to 1 inch—a requirement that involves digging from the street to our property—I can control what materials I choose, such as cabinets, doors, and other finishes. By finding sales and making smart decisions on these items, I’m hoping to keep costs manageable.
Staying on Track
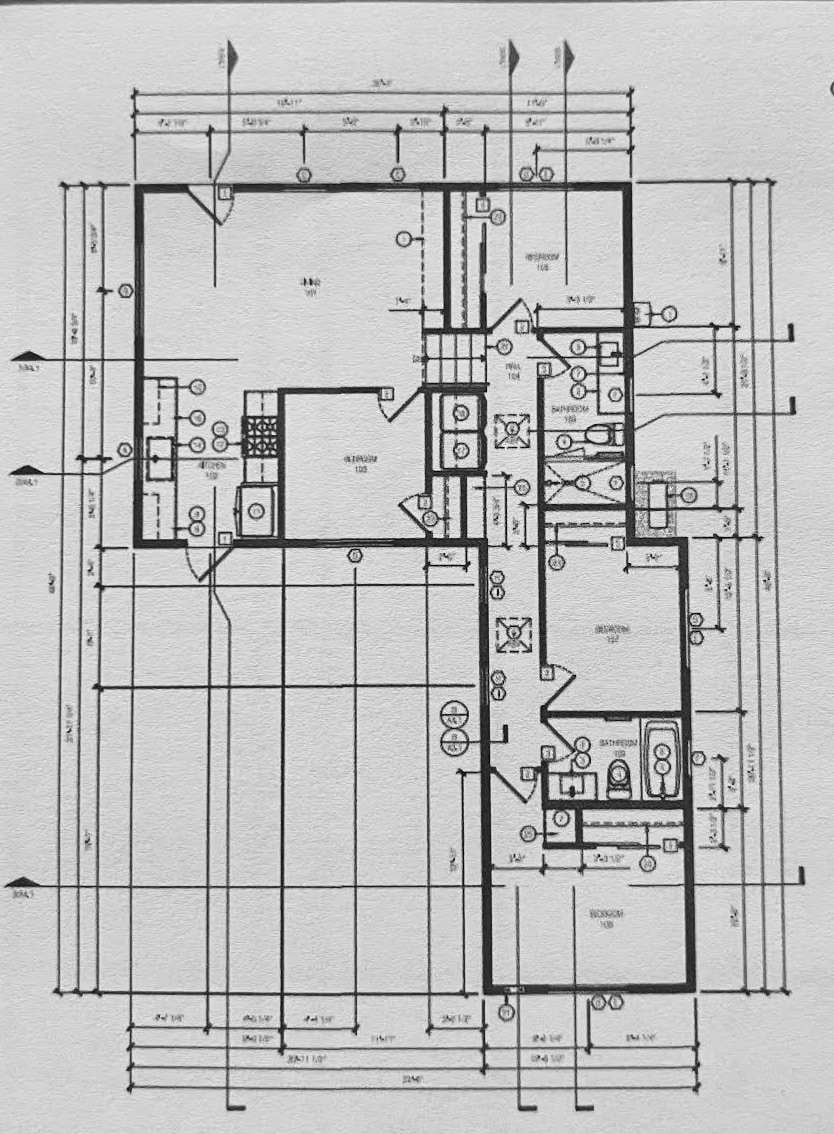
Our ADU will be under 1,000 square feet, which is ideal for our property and tenants. As the project progresses, I’ll continue to share updates on this blog every few weeks, including photos and insights from the process. If you’re thinking about building an ADU in San Luis Obispo—or anywhere in California—I’m happy to help and answer any questions you may have.
Trust me, if you can build an ADU in San Luis Obispo, you can build one anywhere in California! The key is having enough space in your backyard and staying under 1,000 square feet to keep the process smoother.
Current Costs and Budget
Below, I’ll be listing some of the initial costs we’ve incurred as we head into construction, and I’ll continue to update this as we go. Stay tuned for more updates, and feel free to reach out if you’re considering an ADU of your own. Together, we can navigate this process and create additional passive income while adding much-needed housing for our communities.
**Costs to Prepare for Project**
- Architect and Engineering fees: $15,055.00
- Survey: $3,000.00
- Soils report: $6134.00 (more to come as they approve steps along the way)
-School Fee: $5,170.00
- City permits: $8,294.37
-Tree Removal: $2300.00
_______________________
Total: 39,953.37
Next Up…The Contractor!